
Indulge in the rich flavors of a decadent dessert with our easy-to-make Butterfinger cake recipe. It starts with a simple cake mix. This treat is a snap to prepare and is sure to satisfy your sweet tooth.
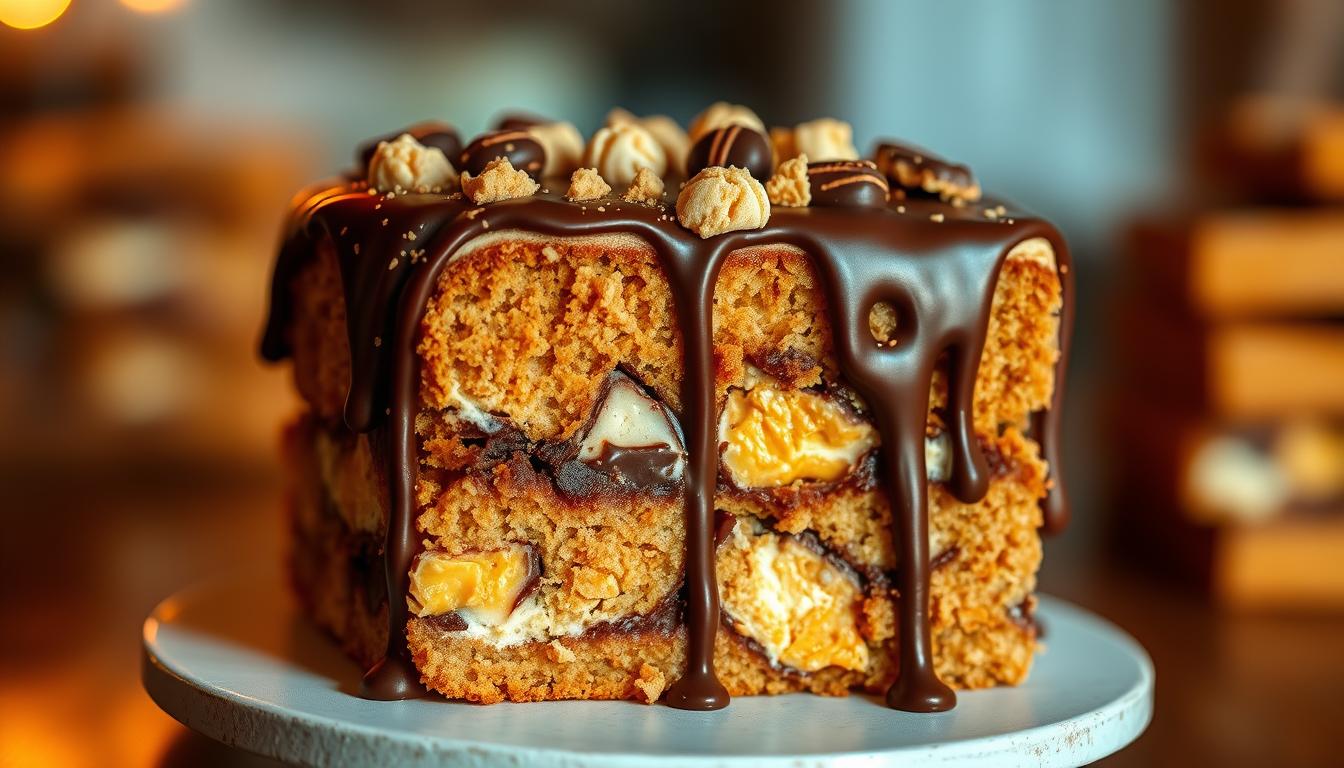
This moist and flavorful dessert is infused with the deep flavors of chocolate and caramel. It’s topped with a generous layer of whipped topping and crushed Butterfingers for a delightful crunch.
Table of Contents
The Sweet History Behind Butterfinger Cake
The story of the Butterfinger cake is as captivating as it is tasty. It began with a simple candy bar and evolved into a rich dessert. Bakers turned the beloved Butterfinger candy into a cake sensation.
What Makes This Dessert So Popular
The Butterfinger cake is loved for its unique taste and texture. It combines a moist cake, crunchy Butterfinger bits, and a sweet frosting. This dessert is perfect for anyone looking to indulge in a treat that’s both familiar and excitingly different. The crunch of the Butterfinger candy contrasts beautifully with the softness of the cake.
From Candy Bar to Cake Sensation
The Butterfinger candy’s versatility led to its transformation into a cake. Bakers crushed Butterfingers and added them to the cake batter and as a topping. The result is a cake that’s not only a feast for the taste buds but also a delight to the eyes. Here’s a brief overview of how Butterfinger cake has evolved:
| Year | Evolution Stage | Description |
|---|---|---|
| Early 2000s | Candy Bar Popularity | Butterfinger candy bars gain widespread popularity. |
| Mid 2000s | Baking Innovation | Bakers start incorporating Butterfingers into cakes and desserts. |
| Present Day | Cake Sensation | Butterfinger cake becomes a beloved dessert, with various recipes emerging online. |
Essential Ingredients for Butterfinger Cake
To make a delicious butterfinger cake, you need the right ingredients. You’ll need cake base components, Butterfinger candies, and filling and topping ingredients.
Cake Base Components
Start with a cake mix and add extra ingredients as the mix says. Choosing the right cake mix is key for the flavor.
Choosing the Right Cake Mix
Choose a chocolate cake mix that you like. Pick your favorite brand to match your taste and texture preferences.
Fresh vs. Pantry Ingredients
The cake mix comes with some ingredients, but you’ll also need fresh ones. Add eggs, oil, and water as the box tells you. The quality of these can change the taste.
Butterfinger Candy Preparation
To add the Butterfinger flavor, crush Butterfinger candies. This gives your cake a crunchy texture and that special Butterfinger taste.
Filling and Topping Ingredients
For the filling, use sweetened condensed milk or caramel. Top it with whipped cream or buttercream frosting. Add crushed Butterfingers for a nice garnish.
- Sweetened condensed milk
- Caramel sauce
- Whipped cream
- Buttercream frosting
- Crushed Butterfingers
Kitchen Equipment Needed for Perfect Results
To make a perfect homemade Butterfinger cake, you need the right tools. Having the right equipment makes baking easier and faster.
Essential Baking Tools
You’ll need some basic baking tools to start. A 9×13-inch baking pan, like a Pyrex dish, is perfect for this recipe. You’ll also need mixing bowls, a measuring cup, and tools like a whisk and spatula. Accurate measurements are crucial, so make sure your measuring cups and spoons are precise.
Optional Equipment for Enhanced Results
Some optional tools can make your baking better. A stand mixer can make mixing easier, and a candy crusher can crush Butterfinger crumbs finer. A pastry bag is also useful for decorating your cake, if you want to.
Step-by-Step Butterfinger Cake Preparation
Making a perfect Butterfinger cake starts with preparation. We’ll show you how to do it. First, prepare your baking pan right to get a smooth cake.
Preparing Your Baking Pan
Start by greasing a 9×13 inch baking dish with butter or spray. Then, dust it with flour to stop the cake from sticking. This is key for a clean cake.

Mixing the Cake Batter
Follow the box’s instructions to mix the cake. Make sure to mix well so all ingredients are evenly spread. This ensures your cake is even in texture.
Baking Time and Temperature Guidelines
Heat your oven to the temperature on the cake mix box. Bake for 30-35 minutes, or until a toothpick comes out clean.
Cooling Properly Before Decorating
After baking, take the cake out and let it cool in the pan for a bit. Then, move it to a wire rack to cool fully. This is crucial before decorating to avoid melted frosting.
By following these steps, you’re on your way to a tasty Butterfinger cake. It’s perfect for impressing others. Whether you’re searching for butterfinger cake ideas or want to try a new butterfinger cake recipe, this guide helps.
Creating the Perfect Butterfinger Cake Filling
Making the perfect filling is key for a tasty Butterfinger cake. It adds flavor and makes the cake more enjoyable to eat.
The Poke Cake Method
The poke cake method is easy and works well. After baking, poke holes in the cake, about 1 inch apart and 1 inch deep.
Making Even Pokes
It’s important to make holes evenly. Use a skewer or a wooden spoon handle to poke holes that are the same size and spaced right.
Filling Distribution Techniques
After poking holes, pour your filling into the cake. For a best butterfinger cake, use a sweet and creamy mix. Let the filling soak into the cake evenly.
Condensed Milk and Caramel Options
For an easy butterfinger cake, use condensed milk or caramel. They add sweetness and go well with Butterfinger pieces. Drizzle slowly over the holes for a moist and tasty cake.
Follow these steps and use the right ingredients for a delicious Butterfinger cake. The secret is to be patient and make sure the filling is spread out evenly.
Frosting Your Butterfinger Cake
Now that your Butterfinger Cake is baked and cooled, it’s time to think about the perfect frosting. The right frosting can make your delicious Butterfinger cake even more irresistible. You have several options to choose from, each offering a unique flavor profile.
Classic Buttercream Approach
A classic buttercream frosting is a timeless choice that pairs well with the crunchy Butterfinger elements. To make it, you’ll need butter, powdered sugar, and a hint of vanilla extract. Beat these ingredients together until smooth and creamy, adjusting the consistency as needed.
Cream Cheese Frosting Alternative
For a tangy contrast to the sweetness of the cake, consider a cream cheese frosting. This involves blending softened cream cheese with butter and powdered sugar, then adding a touch of vanilla. The result is a rich, creamy frosting that complements the homemade Butterfinger cake nicely.
Whipped Topping for a Lighter Option
If you prefer a lighter frosting, a whipped topping could be the way to go. You can make this by whipping heavy cream with powdered sugar until stiff peaks form. Spread the whipped topping over the cake, then sprinkle the top with crushed Butterfinger candy bars for a decorative finish.
Each of these frosting options can enhance your delicious Butterfinger cake, making it perfect for any occasion.
Butterfinger Topping Techniques
To make your Butterfinger dessert stand out, mastering the topping techniques is key. The right topping can turn your cake into a stunning treat that will wow everyone. Crushed Butterfinger candies can add a beautiful and tasty top layer to your cake.
Crushing Butterfingers Properly
To crush Butterfingers right, put them in a resealable plastic bag. Then, use a rolling pin to gently crush them. This way, you get the right texture without a mess. If you want a finer crumb, a food processor works well, but be careful not to overdo it.
Creating an Even Candy Layer
To get an even candy layer, sprinkle crushed Butterfingers over your cake’s top. Use a turntable to rotate the cake while sprinkling for even coverage. Press the crumbs gently onto the frosting to keep them in place.
Additional Garnish Ideas
Think about adding garnishes to go with your Butterfinger topping. A drizzle of caramel sauce or a sprinkle of sea salt can boost the flavor. Whipped cream or chopped nuts can also add texture and make it look great.
Creative Variations of Butterfinger Cake
Explore new flavors and textures with these creative Butterfinger cake variations. The versatility of Butterfinger cake lets you try many innovative twists. These can match different tastes and preferences.

Butterfinger Cheesecake Hybrid
This hybrid dessert combines cheesecake’s richness with Butterfinger’s crunch. Crushed Butterfingers in the crust or batter add a delightful texture contrast. As food blogger Jane Doe said, “The key to a great cheesecake is in the crust, and adding Butterfinger gives it an exciting crunch.” It’s perfect for those who enjoy both cheesecake and Butterfinger cake.
Butterfinger Ice Cream Cake
Turn your Butterfinger cake into an ice cream cake with your favorite flavors. It’s great for hot summer days. Bake the cake, cool it, then layer with ice cream and freeze until solid. This results in a cool, creamy, and crunchy dessert that impresses everyone.
Mini Butterfinger Cake Bites
Try mini Butterfinger cake bites for a fun twist. These are perfect for parties or gatherings. Bake in a mini muffin tin, top with Butterfinger crumbs and frosting, and serve. A popular baking tip is, “Mini desserts like these are not only adorable but also make serving and eating easy and fun.”
These creative variations prove Butterfinger cake is more than a dessert. It’s a canvas for your culinary creativity. Whether you’re making a cheesecake hybrid, an ice cream cake, or mini cake bites, you’ll impress your friends and family with these unique treats.
Serving and Presentation Ideas
Make your dessert stand out by presenting your delicious Butterfinger cake in style. The way you present it can greatly impact how it’s seen.
Plating for Special Occasions
For big events, top your easy Butterfinger cake with whipped cream and more crushed Butterfingers. This adds a fancy touch and matches the cake’s theme.
Complementary Sides and Garnishes
Pair your cake with sides like vanilla ice cream or a dollop of whipped cream. Adding fresh fruits or chocolate shavings can also boost the look. The secret to a stunning presentation is mixing flavors and textures well.
Storage and Shelf Life
Keeping your Butterfinger Cake fresh is key. Store it in an airtight container in the fridge. This keeps the cake moist and the Butterfinger pieces crunchy.
Refrigeration Guidelines
When storing your cake, cover it with plastic wrap or foil. This stops moisture from getting in. Your cake can stay fresh for up to 5 days in the fridge.
Freezing Instructions for Later Enjoyment
Freezing is a great way to enjoy your cake later. Wrap it tightly in plastic or foil and put it in a freezer-safe container. It can be frozen for up to 3 months. Just thaw it in the fridge or at room temperature when you’re ready to eat it.
Have you ever tried this recipe?
There are no reviews yet. Be the first one to write one.